
How to Print a Picture on a Mac from Rollo Printer: The Complete Tutorial
In the fast-paced digital age, where photos are often shared online or stored in the cloud, there's still something special about holding a printed picture in your hands. If you own a Rollo Printer and a Mac, you're in luck – printing a picture is a breeze. In this comprehensive tutorial, we'll walk you through the steps to ensure a smooth and successful printing process.
Step 1: Ensure Compatibility
Before diving into the printing process, it's crucial to confirm that your Rollo Printer is compatible with your Mac. Visit the Rollo Printer website or check the product documentation to ensure that your printer model supports Mac operating systems. Most modern printers are compatible, but it's always good to double-check.
Step 2: Install the Rollo Printer Drivers
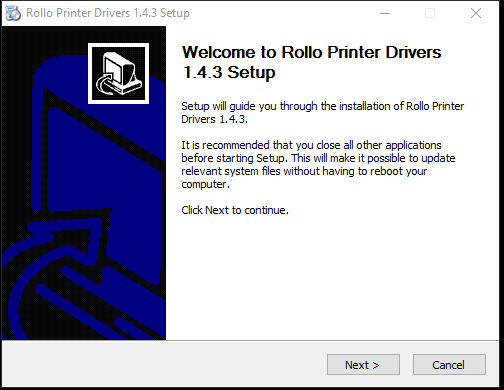
For your Mac to communicate effectively with the Rollo Printer, you need to install the necessary drivers. Head to the official Rollo Printer website and locate the drivers section. Download the latest Mac-compatible drivers and follow the installation instructions provided by Rollo. This step is essential for establishing a seamless connection between your Mac and the printer.
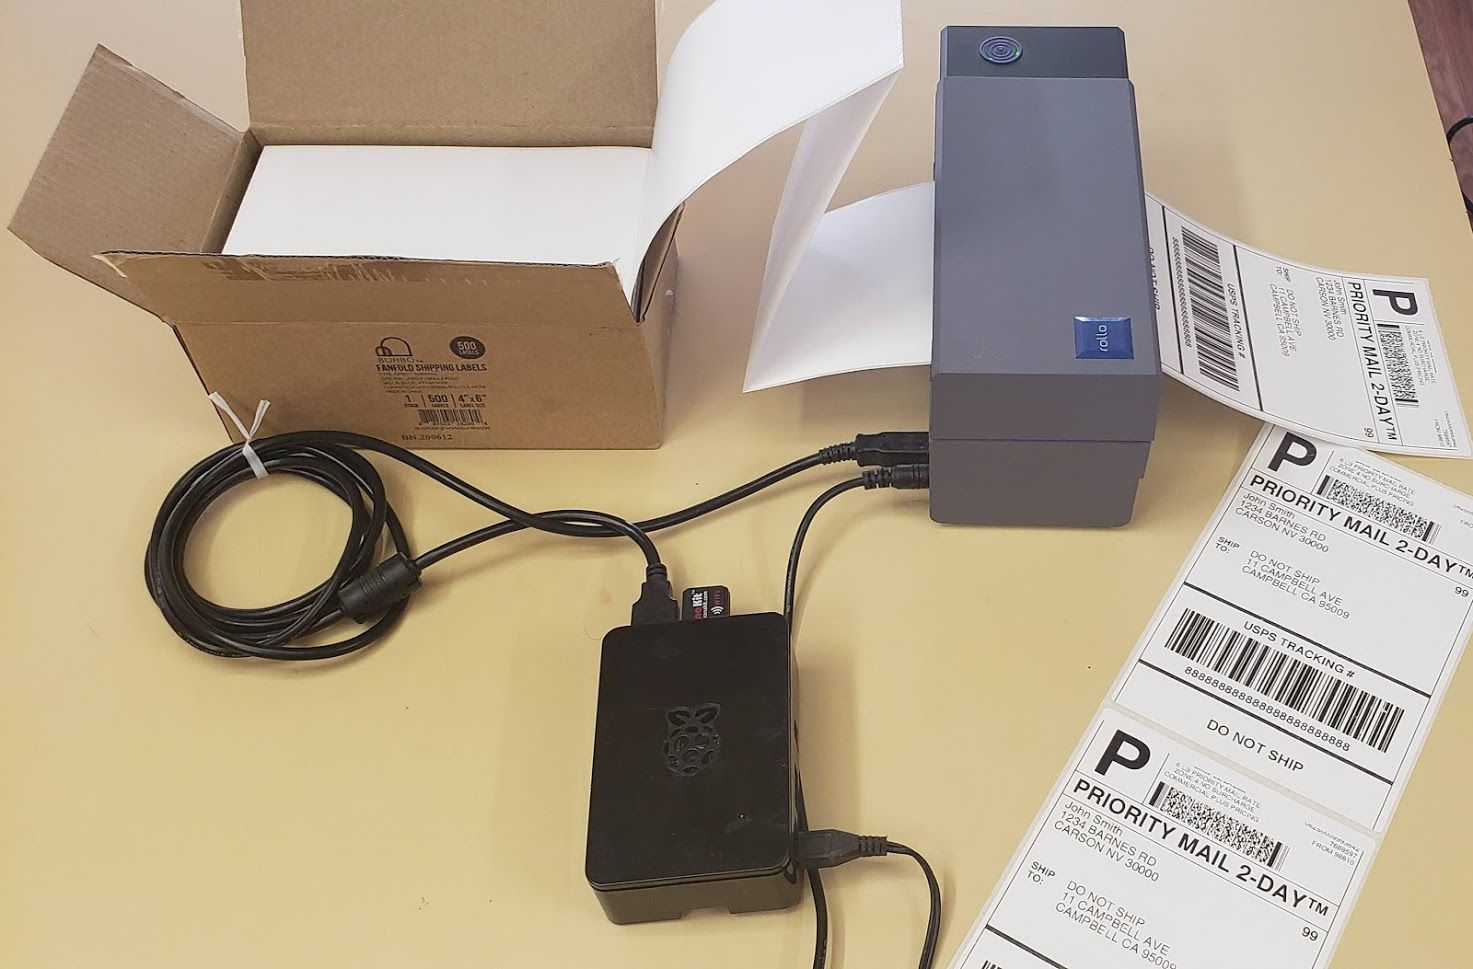
Step 3: Connect Your Rollo Printer to Your Mac
Once the drivers are installed, it's time to establish the physical connection between your Rollo Printer and your Mac. Use a USB cable to connect the printer to your Mac's USB port. Ensure that the cable is securely plugged in on both ends to avoid any communication issues.
How to Print a Picture on a Mac from Rollo printer supports wireless connectivity, you can also set it up to print wirelessly from your Mac. Follow the printer's manual or online guides to configure the wireless connection. This option provides more flexibility and eliminates the need for a direct USB connection.
Step 4: Power Up Your Rollo Printer
Before printing a picture, make sure your Rollo Printer is powered up and ready to go. Check the power cable and connection to ensure a stable power supply. Most printers have a power indicator light – make sure it's on and steady.
Step 5: Load Paper into the Rollo Printer
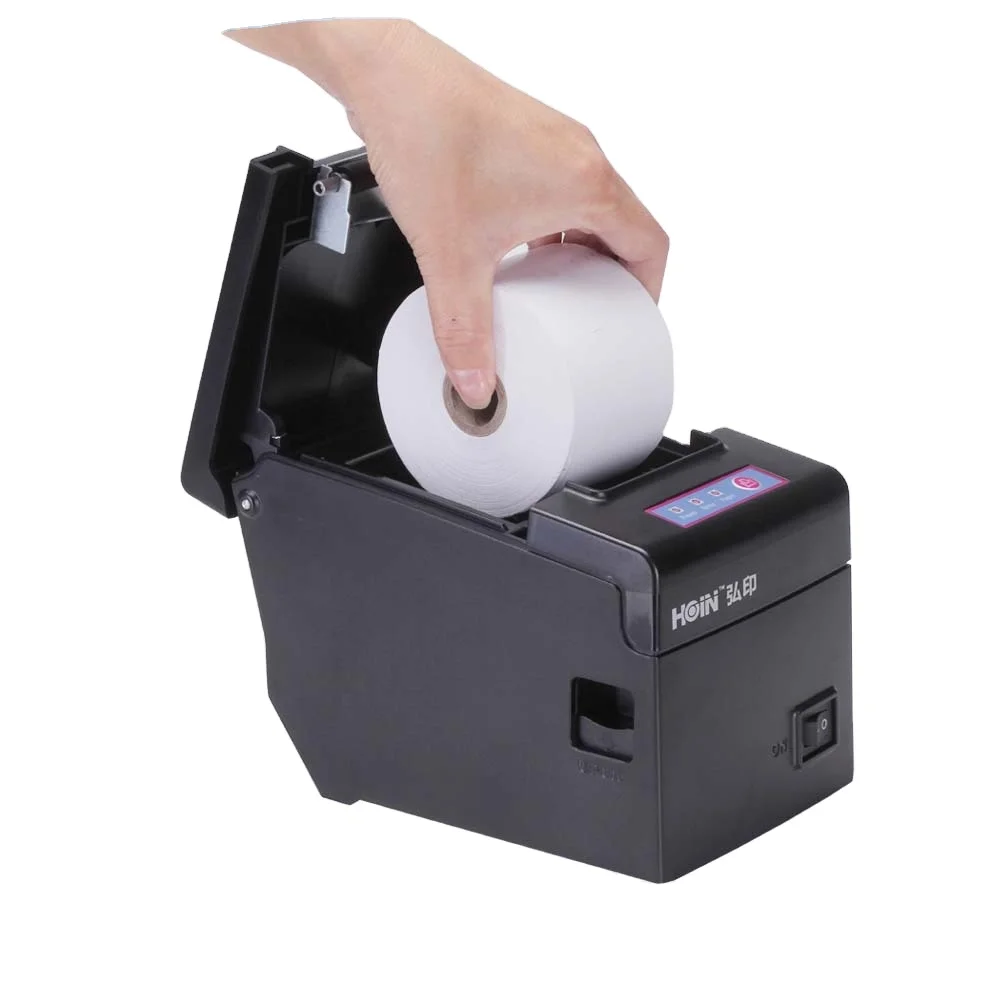
To print a picture, you'll need to load the appropriate type and size of paper into your Rollo Printer. Consult the printer's manual to determine the correct paper specifications. Once you've identified the right paper, open the paper tray and load it according to the provided instructions. Ensure that the paper is aligned correctly to avoid any printing errors.
Step 6: Open the Picture on Your Mac
With the physical setup complete, it's time to select the picture you want to print. Locate the picture file on your Mac and open it using the default image viewer or your preferred photo editing software. Ensure that the picture is formatted correctly and is in a supported file format for printing.
Step 7: Adjust Print Settings
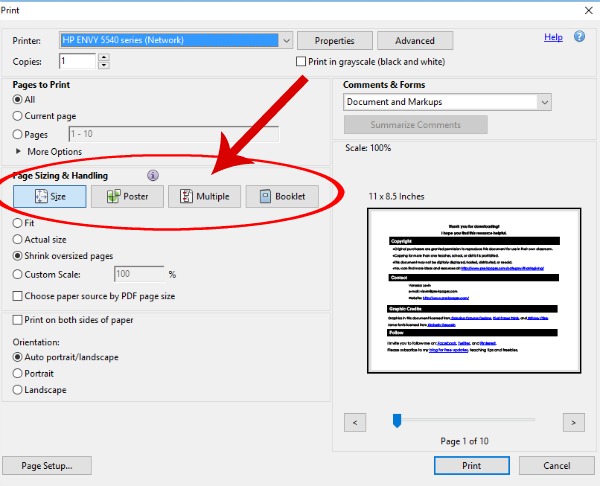
Before sending the picture to the Rollo Printer, take a moment to adjust the print settings to achieve the desired output. Access the print settings menu, usually found in the "File" or "Print" options of your image viewer or editing software. Here, you can customise parameters such as print quality, paper type, and layout.
Ensure that the print settings match the specifications of the paper loaded into the Rollo Printer. This step is crucial for obtaining a high-quality print and avoiding any potential issues during the printing process.
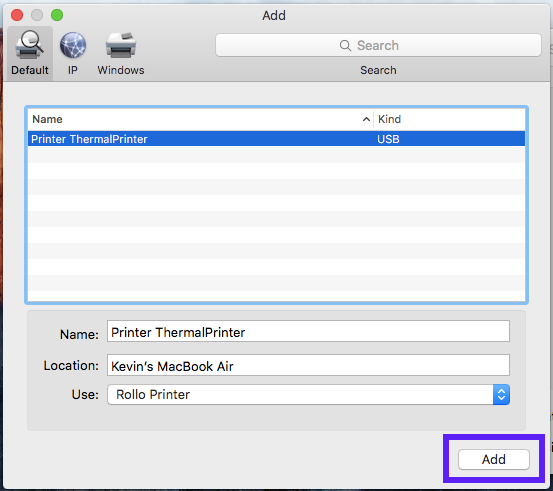
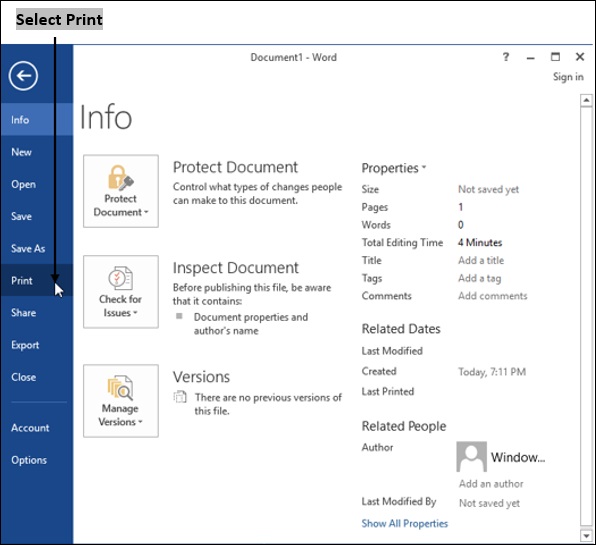
Step 8: Select Rollo Printer as the Printing Device
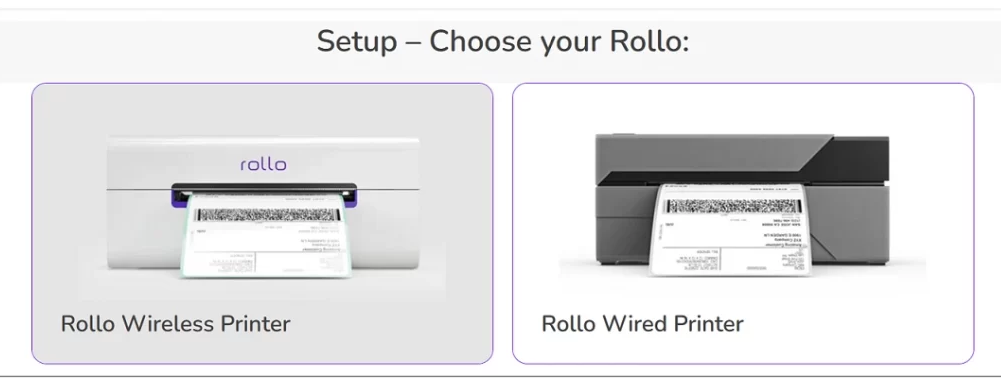
In the print settings menu, choose the Rollo Printer as the designated printing device. This selection ensures that your Mac sends the print job to the correct printer. If you have multiple printers connected to your Mac, double-check that the Rollo Printer is selected before proceeding.
Step 9: Preview the Print Job
Before hitting the print button, take advantage of the print preview option to see how your picture will look on paper. This step allows you to make any last-minute adjustments to the print settings and ensures that there are no unexpected surprises when the picture is printed. Previewing the print job can save you time and resources by avoiding unnecessary reprints.
Step 10: Hit the Print Button
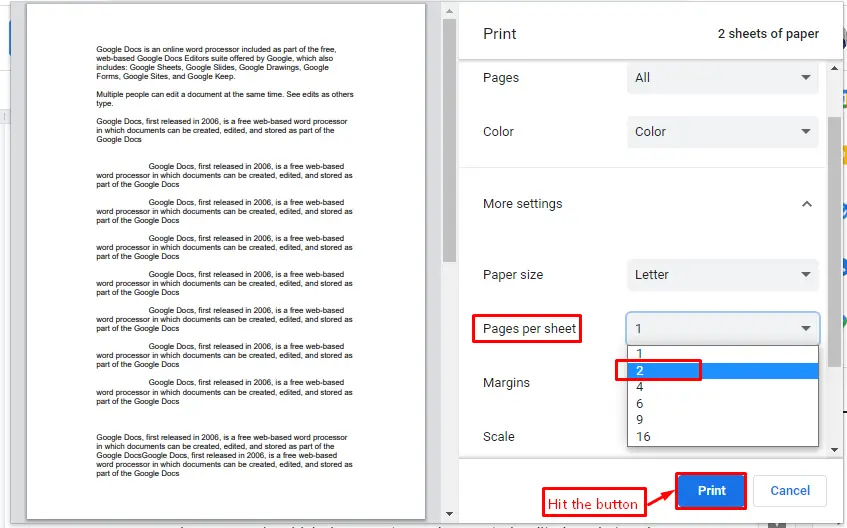
Once you're satisfied with the print preview, it's time to bring your picture to life. Click the "Print" button in the print settings menu, and your Mac will send the print job to the Rollo Printer. Be patient as the printer processes the information and begins printing your picture.
Step 11: Collect Your Printed Picture
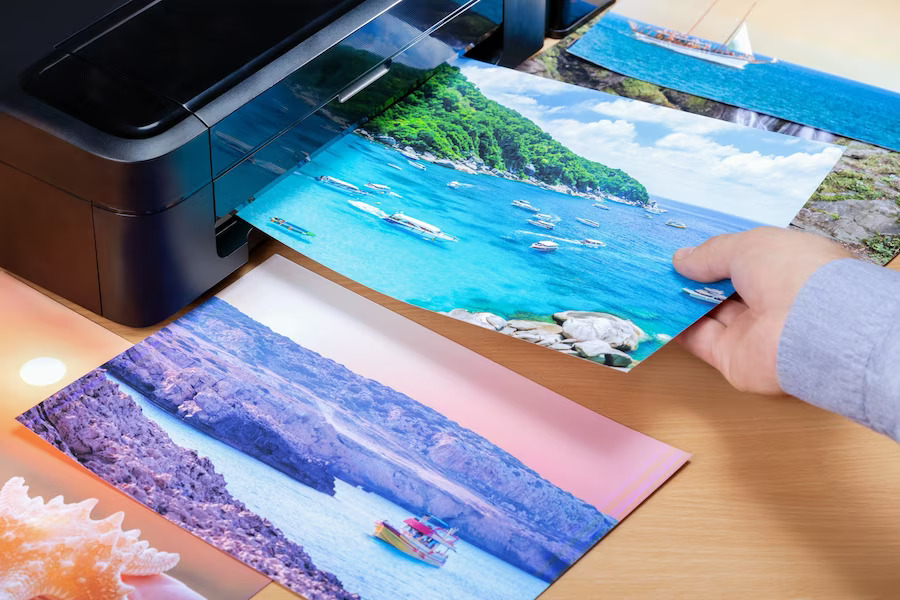
As the Rollo Printer works its magic, be ready to collect your freshly printed picture. Once the printing is complete, carefully remove the printed picture from the output tray. Handle the picture with care to avoid smudging or damaging the print.
Troubleshooting Tips:
1. Check Printer Connection:
If your Rollo Printer is not responding, double-check the USB or wireless connection between the printer and your Mac. Ensure that all cables are securely connected, and if using wireless printing, confirm that the printer is connected to the same network as your Mac.
2.Update Drivers:
Outdated or incompatible drivers can lead to printing issues. Visit the Rollo Printer website regularly to check for driver updates and install the latest version to ensure optimal performance.
3.Paper Jam:
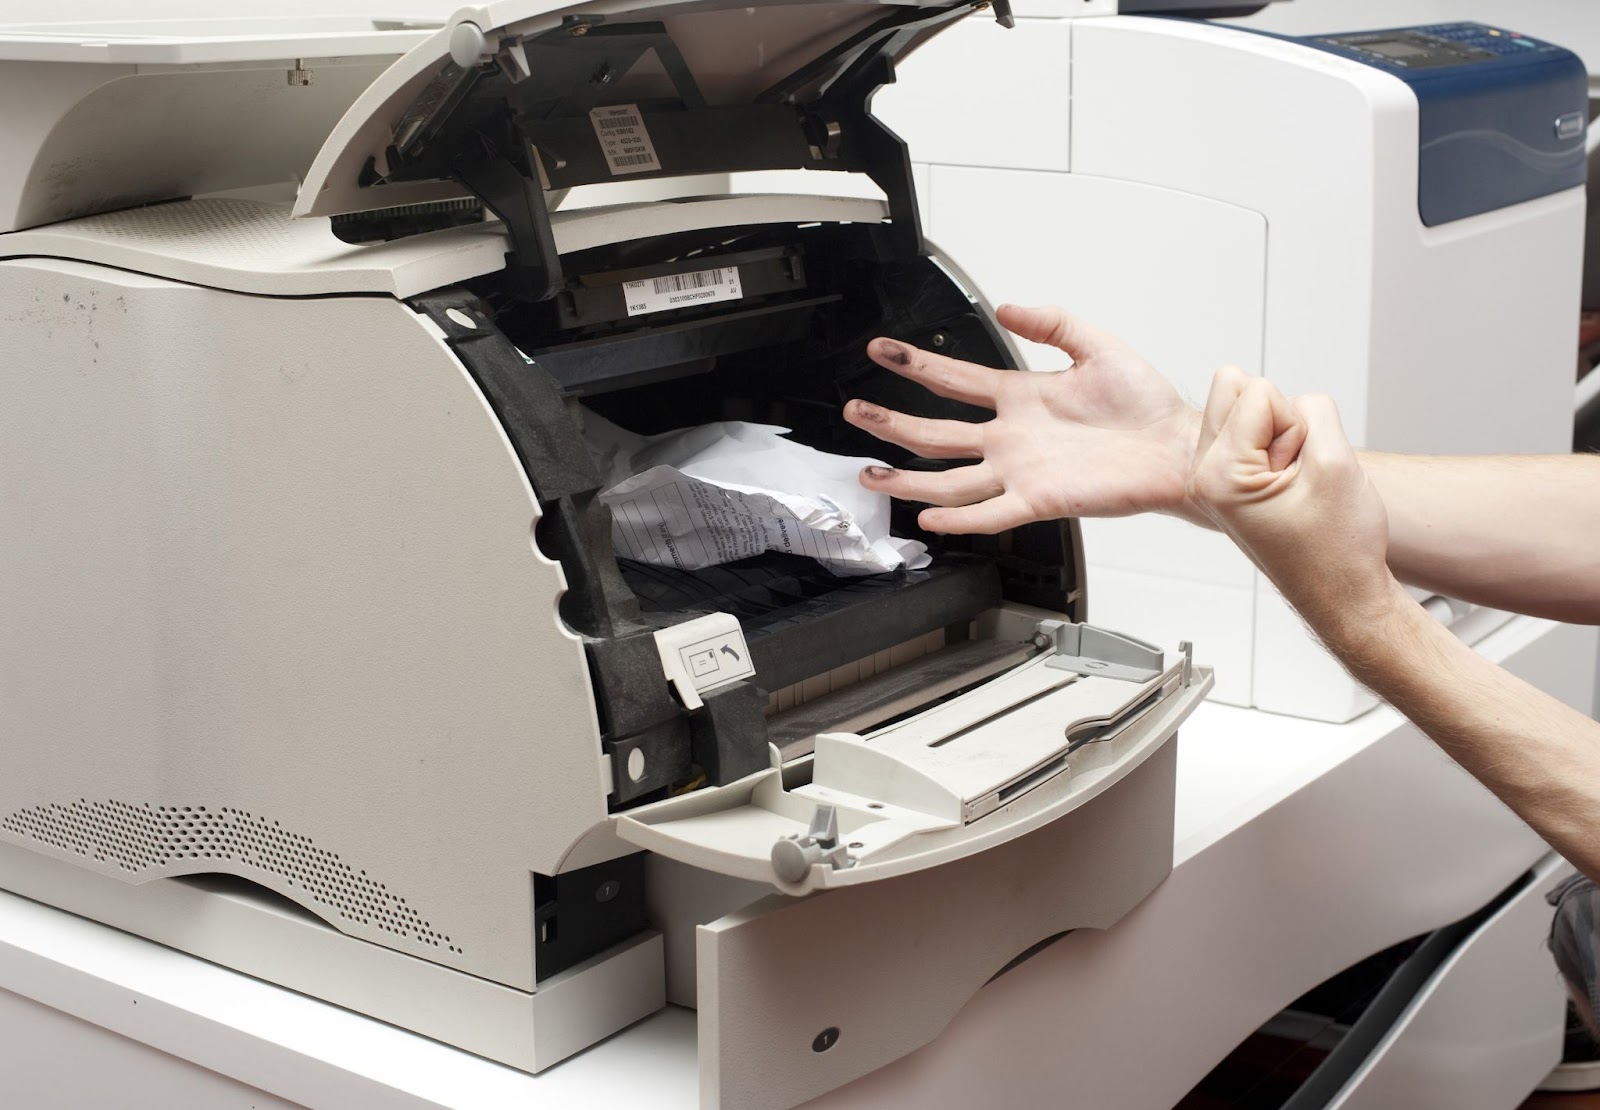
If you encounter a paper jam during the printing process, follow the printer's manual to safely clear the jam. Ensure that the paper is loaded correctly to prevent future jams.
4. Low Ink or Toner:
If your Rollo Printer uses ink or toner, check the levels to ensure there's enough for the print job. Low ink or toner levels can result in poor print quality.
5.Print Quality Issues:

If your printed picture has issues such as streaks, smudges, or faded colours, check the print settings and ensure that they match the specifications of the loaded paper. Additionally, perform a printer maintenance routine, such as cleaning the printhead, to improve print quality.
Conclusion:
Printing a picture on a Mac from a Rollo Printer is a straightforward process that, when done correctly, results in high-quality prints. By following this complete tutorial and troubleshooting guide, you'll be able to enjoy the tangible beauty of your digital memories in the form of a printed picture. Embrace the simplicity and convenience that modern technology offers, and start creating lasting memories with your Rollo Printer and Mac combination. Happy printing!
Tag:
Rollo Printer
Easy Guide Rollo Printer
Rollo Printer Support
Rollo Printer Setup
source:-https://medium.com/@yourtechexpert260/how-to-print-a-picture-on-a-mac-from-rollo-printer-the-complete-tutorial-9566a0bcae8d